Tech
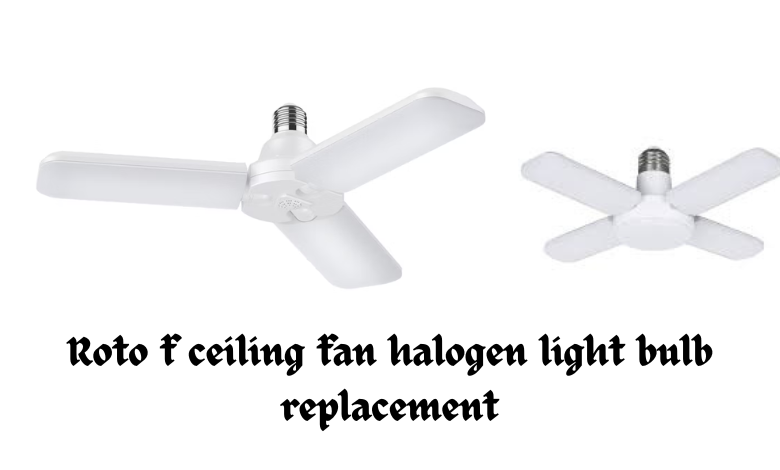
Roto f ceiling fan halogen light bulb replacement

How to Replace a Halogen Light Bulb in a Roto F Ceiling Fan
Replacing the halogen light bulb in your Roto F ceiling fan might seem tricky at first, but with the right steps and tools, it’s a straightforward process. This guide will walk you through the replacement process safely and efficiently.
Tools and Materials Needed
Before you get started, gather the following:
- A compatible replacement halogen bulb (check your fan’s manual for the correct wattage and type).
- A clean cloth or gloves (to avoid touching the bulb directly).
- A sturdy step stool or ladder.
- Optional: Small screwdriver (if the light cover is secured with screws).
Step 1: Safety First
- Turn off the power: Before starting, turn off the fan and light using the wall switch. For extra safety, switch off the circuit breaker that powers the fan.
- Let the bulb cool down: Halogen bulbs can get extremely hot. Wait at least 10-15 minutes after the light was last used to ensure it’s cool to the touch.
Step 2: Access the Light Bulb
- Locate the light cover: Most Roto F ceiling fans have a glass or plastic cover protecting the bulb.
- Remove the light cover:
- If the cover is held in place by screws, use a screwdriver to remove them carefully.
- If the cover is a twist-and-lock type, rotate it counterclockwise to remove it.
- Place the cover in a safe spot to avoid accidental damage.
Step 3: Remove the Old Bulb
- Check the type of bulb: Note the shape, size, and wattage of the existing bulb to ensure you have the correct replacement.
- Remove the old bulb:
- Grip the bulb gently but firmly using a clean cloth or gloves.
- Pull it straight out if it has a bi-pin base or twist it slightly counterclockwise if it’s a screw-in bulb.
Step 4: Install the New Bulb
- Handle with care: Halogen bulbs are sensitive to skin oils, which can cause them to overheat and fail prematurely. Always handle the new bulb with a cloth or gloves.
- Insert the new bulb:
- Align the pins or base with the socket and push the bulb in gently until it’s secure.
- If it’s a screw-in bulb, twist it clockwise until snug.
Step 5: Reattach the Light Cover
- Position the cover: Align it with the fan’s fixture.
- Secure it in place:
- Screw the cover back in place if it uses screws.
- For twist-and-lock covers, rotate it clockwise until it’s secure.
Step 6: Test the Light
- Turn the power back on at the circuit breaker or wall switch.
- Switch on the fan’s light to ensure the new bulb works correctly.
Troubleshooting Tips
- Bulb doesn’t light up: Double-check the bulb’s connection and ensure it’s fully seated in the socket.
- Light flickers: Inspect the socket for damage or dirt and ensure the bulb matches the required wattage and type.
- Cover doesn’t fit properly: Ensure the bulb is the correct size and that the cover is aligned correctly before securing.
Maintenance Tips for Halogen Bulbs
- Avoid touching halogen bulbs directly with bare hands during installation or maintenance.
- Clean the bulb occasionally using a dry, lint-free cloth to remove dust and debris.
- Replace bulbs promptly when they dim or fail to prevent strain on the fixture.


